
The Entryway . . . AFTER
>> Sunday, December 13, 2009

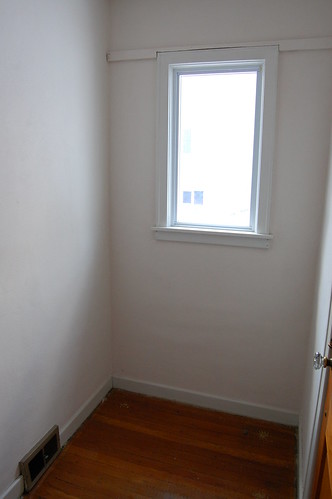
As a refresher: Here's what our entryway looked like BEFORE being cleared out. Pretty awful, right? Despite our embarrassment and apparent lack of organization skills, we forged on -- removing all the crap we had laying on the ground in heaps -- and we're super happy with the result.
Here's another BEFORE photo:
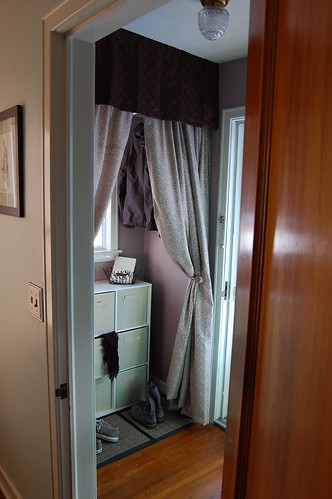
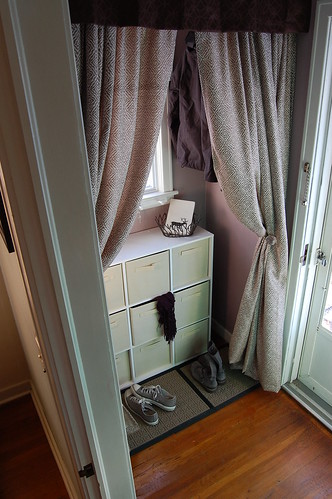
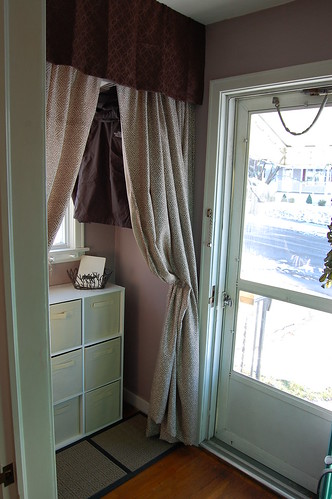
I won't make you go through the process photos before seeing the end result. Here she is -- all dressed up!
So what exactly did we do to go from a cluttered and chaotic hell to this classy coat closet? It was surprisingly easy and much cheaper than you'd think!
First, here's the breakdown of what supplies we used:
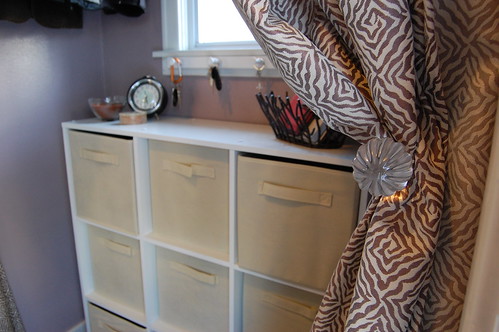
- Paint: Valspar, Dusky Hyacinth, $14 (We still have SO much paint left over, we’re going to use it in our bedroom, so I deducted a little more than half of the price)
- Cube storage: $49 (for white frame), $60 for tan baskets
- Curtains: Free. We plucked ‘em from the dining room!
- Valance: $17
- Curtain pulls: $10
- Floor mats: $24
- Coat rod: $8
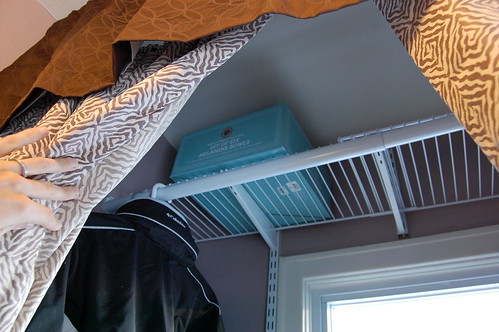
- Shelving system: $25
- Key hook: $10
- Tension rods (2 @ $6): $12
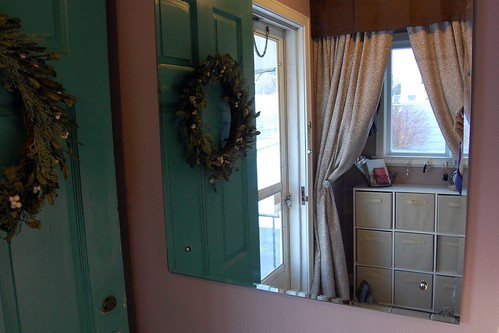
- Mirror: Again, free. Left here by the previous owner.
GRAND TOTAL: $229
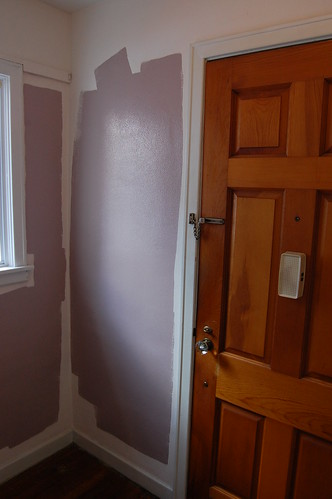
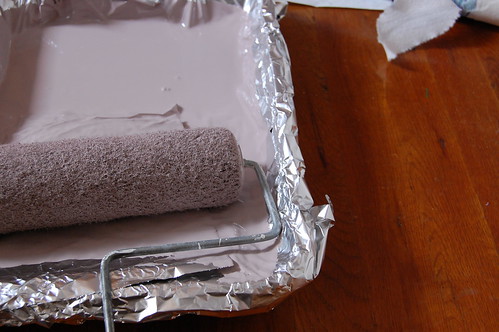
Of course, we first slapped a generous coat of this purple paint on the walls. I'll admit, I was concerned at first because the wet slop in our bucket didn't exactly look like the elegant color we'd chosen at the store. But as it dried, it darkened from the little girl shade to a grown-up neutral.
And we're smitten with it now.
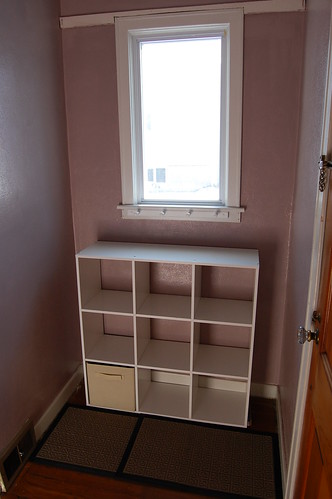
Then our gears shifted to assembly. We picked up this cube storage system at Target for $49! There's really nothing unique about it -- but we don't have any Ikeas in the area, so it was a solution we could get our hands on . . . on the cheap. Each bin now holds our mittens, scarves, umbrellas, even some free weights. Concealing everything that was once strewn about has definitely improved our downstairs spaces.
If you'd like more photos of the project in motion, as well as some detail shots, check out our Flickr set.
Now for some more AFTER shots (I took a lot because it's a small space and difficult to photograph):

What do you think? Did we make an improvement? Certainly better than having our coats thrown on our couch and our boots lining the perimeter of the dining room! We'd love to hear your thoughts. :)

Like what you just read? You can subscribe to the feed of these posts or follow us on Twitter to be the first to know what the (never home)makers are up to. And we’ll love you forever <3


