
Inkjet Transfers: How To
>> Friday, December 4, 2009
First, I'd like to thank those of you joining (never home)maker from METHOD, my last blog. I realize that migrating content over means some duplication for you all -- but it's all good stuff, so I'd like to have it in one place. I appreciate your patience. But I also hope you like the new stuff I've been writing and creating.
Today's post is one of my favorite from the METHOD archives. It's instructions on how to make cheap, awesome art in a method known as the inkjet transfer. To see a whole gallery of these pieces of work, visit the Inkjet Transfer Pool on Flickr. Here, you'll see that mine aren't the best in the world (big surprise!), but it will serve as inspiration . . . and show you what you can really do if you keep with it.
I got into inkjet transfers in the winter of 2007. It's fun, easy, and, well, simply -- I got hooked on it. The results are cool, too . . . and what's best is: Once you get into it, you'll have a ton of unique artwork to hang around your house, give to friends as gifts, and to show off.
What you'll need . . .
- A smashing digital photo
- Photoshop (or some kind of photo editing tool that will allow you to play with the exposure of the photo, and -- if you don't have any software like this -- it really is optional)
- An inkjet printer
- Watercolor paper, or another smooth, absorbent paper or surface (I've never tried it, but hear some woods work).
- Copier transparency or used Avery label sheet (so it's smooth & shiny)
- A damp cloth
- Patience
Method . . .
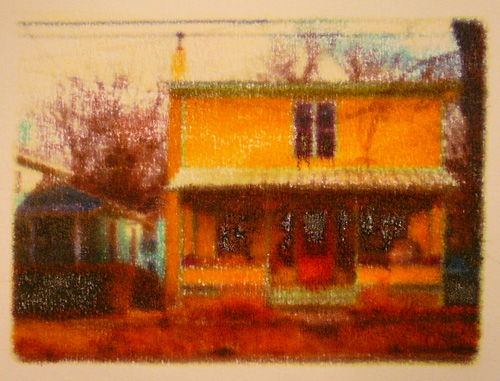
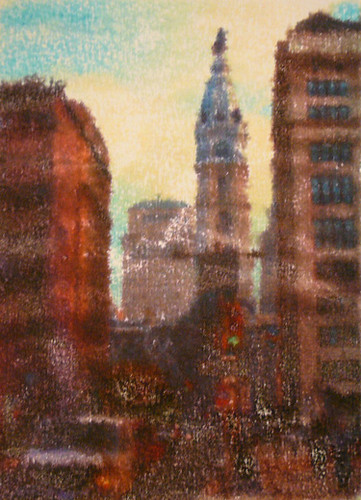
Step 1: If you have the photo editing tools, and you want to -- play around with the exposure of your image. I find it's good to make it a bit darker than it was originally. It's also fun to play with the colors (like in my photos above) to make them more vibrant.
Step 2: Print the photo onto the transparency or label sheet (smooth & shiny side).
Step 3: While the photo is printing, lightly press the damp cloth onto your transfer surface (that's the watercolor paper), so it's slightly damp as well. (This part is something you need to play around with -- so your first couple tries might be either too dry or too runny. Keep at it!)
Step 4: Press the inked-up side of your transparency or label paper onto the newly damp transfer surface and smooth over -- gently, now -- with your hand. The key word is gently, as too hard will blur your image (as you begin, you'll likely blur quite a bit -- don't let this discourage you).
Step 5: Again, gently peel the transparency or label paper off your transfer surface and let dry.
Step 6: Admire your work and continue to refine your style!
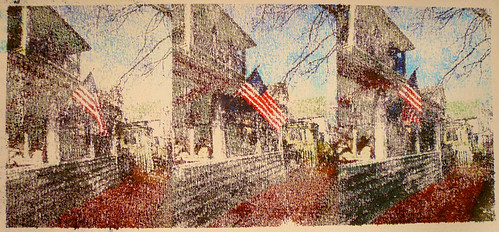
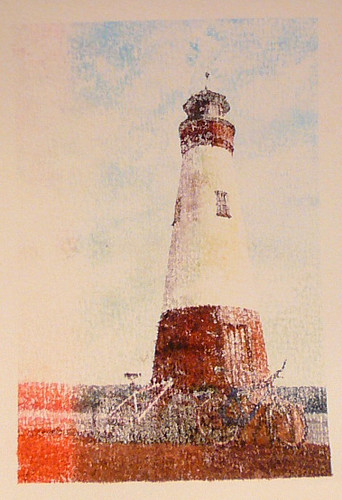
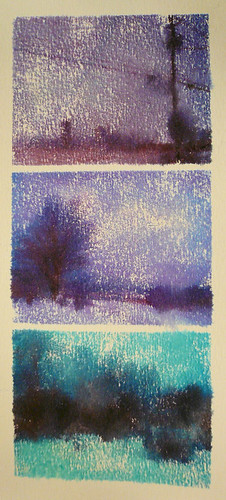
Go as abstract or as literal as you want. After all, it's art -- so there's really no "wrong way" to do it. Just remember that a wetter transfer surface means blurrier results. The two pictures directly above this blurb are the result of a drier transfer surface. Experiment! And note: Transparency or label sheets may be used again -- but eventually get stained and need to be retired.
Like what you just read? You can subscribe to the feed of these posts or follow us on Twitter to be the first to know what the (never home)makers are up to. And we’ll love you forever <3


