
Back Pocket Biscuits
>> Friday, August 1, 2014
Happy Friday, friends! Thanks for all your insightful comments on the Garbage Bowl post -- part II about our composting process will be coming next week. On another homesteading note: I had no idea so many of you have backyard chickens. I'm not sure what the rules + regulations are in our new area, but I'd love to learn more about your process and experiences raising and caring for chickens in more urban and suburban settings.
Onto today's post. I'd like to s art giving some of my fall meal tips as the summer -- sadly -- draws to a close. This way, you'll be armed with all my secrets when school is back in session, vacations are only memories, and the weather starts getting nippy. First on that list? Having some quick and easy "back pocket" biscuit recipes in your memory bank.

// BACK POCKET BISCUITS
- Biscuits go with a wide variety of meals. Most notably soups and stews benefit from a little side bread action. In fact, one of my most frequently cooked meals involved Pumpkin Chili and basic "buttermilk" biscuits. I write that in quotes because I make ours with Earth Balance or olive oil and usually (homemade) almond milk.
- They're also incredibly versatile and can be made sweet or savory, cheesy or veggie, etc. Baking powder is what gives them a quick and powerful rise, which is why there's no need to wait long hours from mixing to baking.
- As for tools of the trade, it's quite simple. I use a bowl, a spatula, some dusting flour, and -- the KEY -- a standard Ball jar lid ring to do the cutting. If you'd like to make jumbo biscuits, the larger rings work well, too. But of all my tools, it's the most important.
- As for toppings, I often go with standard butter or Earth Balance. For breakfast I sometimes toast biscuits and top with peanut butter or broil with cheese. Biscuits are so adaptable, they can turn into anything you want them to be pretty quickly.

// RECIPES
What you see in the photos are the Yogurt Drop Biscuits. I'd say I make those most often with the Whole Wheat "Buttermilk" being a close second. Whatever you do, feel free to explore these recipes. Add in your own ingredients from cheeses to different purees (for example, the Applesauce Biscuits could easily be made savory by substituting the applesauce with sweet potato or other veggie puree).
- Whole Wheat "Buttermilk" Biscuits
- Vegan Chocolate Biscuits
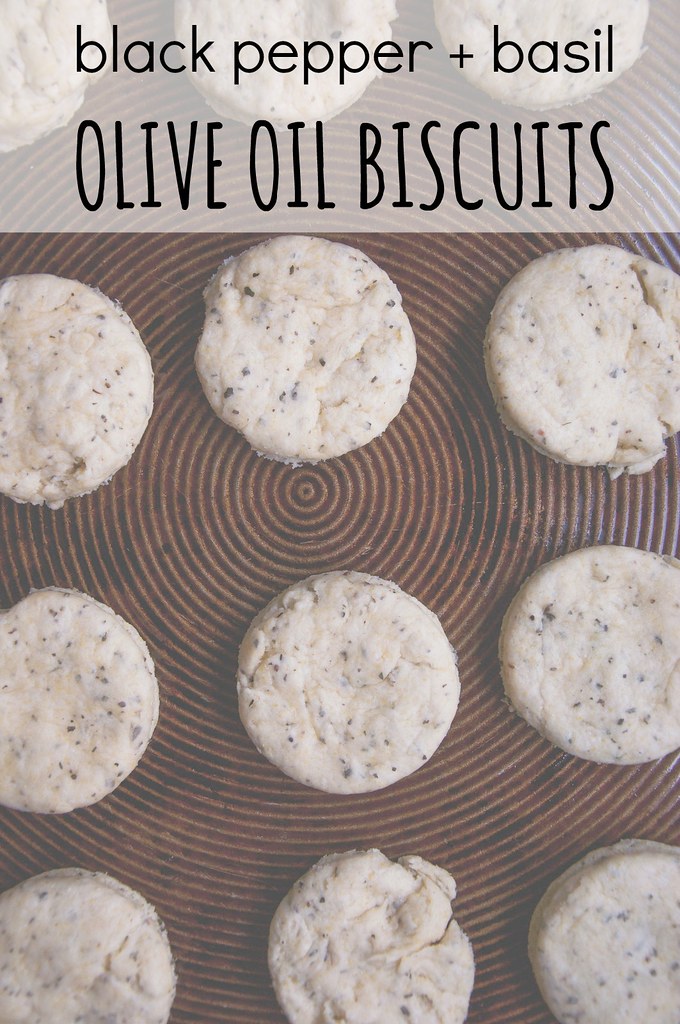
- Black Pepper + Basil Biscuits
- Yogurt Drop Biscuits
- Cornmeal Drop Biscuits
- Cheesy Beer Biscuits
- Cheesy Old Bay Biscuits
- Spiced Applesauce Biscuits
Speaking of boats, this is our last day at the shore! Ahhh!


